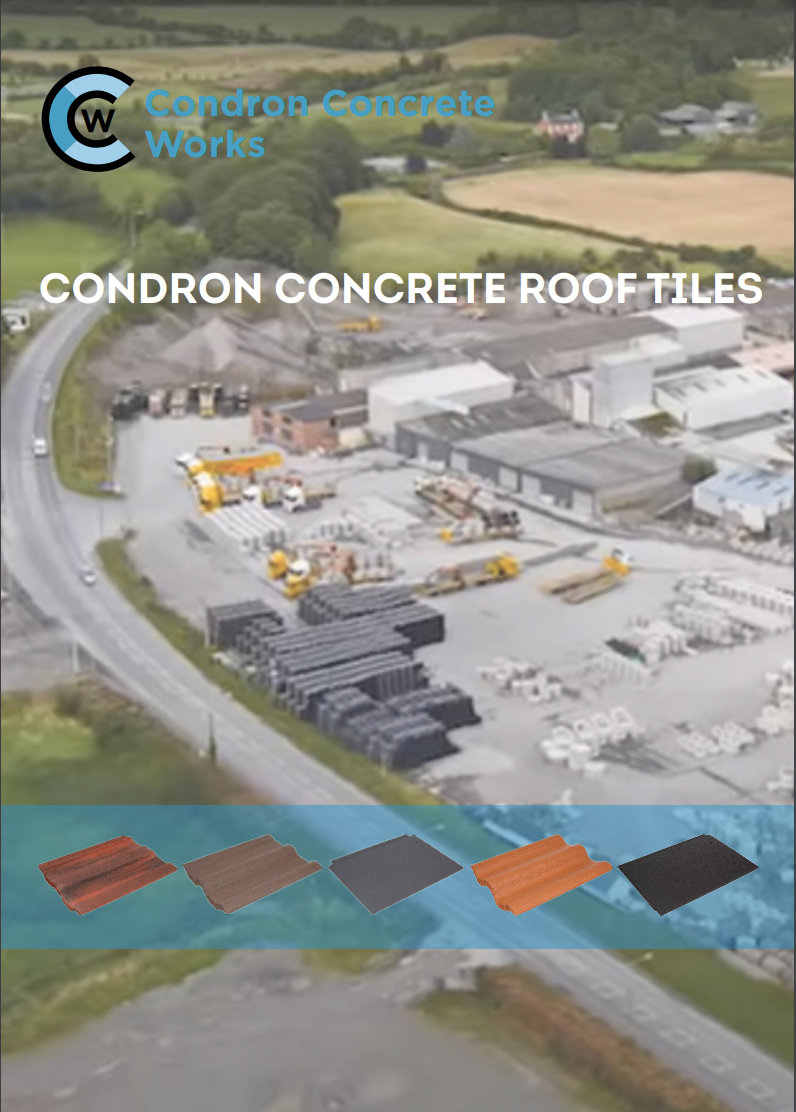
Site Practice
INTRODUCTION: This section is a practical guide to general good practice on site, applicable to all pitched tile roofs. It is based on ICP2 Slating and Tiling 2016, BS 5534:2014+A1:2015 and any new code of practices in the future. The performance of the finished roof is dependent on the design, location, type of roof tile selected, type of felt used and quality of workmanship
CONCRETE EFFLORESCENCE: This is a surface phenomenon associated with natural concrete products and influenced by weather conditions. The hydrated lime (calcium hydroxide) in the cement reacts with carbon dioxide in the atmosphere to produce insoluble calcium carbonate, which is deposited as efflorescence. The chemical process of carbonation continues and will eventually form soluble calcium bicarbonate. Normal weathering will wash the bicarbonate away. The degree of efflorescence is relative to lime content and local weather conditions. It is recommended to provide ventilation when using breathable underlay.
UNDERLAYS MATERIALS: Underlays which are not fully supported, that is, draped over rafters, should be reinforced type felt IF to IS: 36 LAPS: Vertical Laps should be not less than 100mm and each end of the underlay should be securely fixed over the rafters. The fixing should be not less than 50mm from the edge of the underlay. The Horizontal lap should be as follows: Rafter pitches from 17.5 degrees to 55 degrees should have a minimum lap of 150mm and for rafter pitches of 55 degrees and above a minimum lap of 100mm. The Horizontal Laps should, preferably, be under a batten, with at least 25mm of underlay projecting beyond each end of the batten. Where a lap occurs between battens, it should be held down by an extra batten to restrain the laps from opening under wind uplift. Breathable underlays should be fitted in accordance with manufacturer’s instructions and is recommended to use tile vents prevent condensation
DETAILS: Eaves: The underlay should drain any water into the eaves gutter, and should extend over the tilting piece and fascia board and well into the gutter. Water traps behind the fascia board must be avoided, and a continuous fillet should be fitted to support the felt. Hips: A strip, not less than 1m wide, should be laid over hips, overlapping the underlay of the main roof. Valleys: One layer of underlay, 1m wide, should be lapped under the underlay of the main roof. Verge: Underlay should be carried across the wall cavity.
NAIL HOLES: Holes in underlay should be kept to a minimum. Where it is necessary to nail underlay, use galvanised clout (large head) nails. Care should be taken to prevent damaging the felt and, any damage that does occur, should be properly repaired. It is recommended that at pitches below 25 degrees, and on exposed sites, high performance felt should be used.
SETTING OUT: Careful setting out makes the actual tiling faster, and will contribute to the finished appearance of the roof. It helps to avoid problems such as unequal over-hangs at verges, and often makes it possible to avoid a lot of tile cutting at abutments, chimneys, and similar obstructions. The area to be tiled should be set out carefully to ensure that:
- Minimum cutting of tiles is necessary.
- The horizontal lines of the course will be regular and true.
- The perpendicular lines of the tile edges will be to a true alignment.
- For regular sized tiles, fit battens to recommended gauge.
- Fix battens, not less than 1200mm long, to each rafter or support, in straight lines, to the calculated gauge, parallel with the ridge or top course, or at right angles to the line of drainage.
- Ensure all joins are square-cut and butted centrally on the supports. Splay nail each batten end.
- For trussed rafter roofs where the batten gauge is greater than 200mm, do not have more than one joint in any four consecutive battens on the same support.
- For trussed rafter roofs where the batten gauge is less than 200mm, do not have more than three joints together in any twelve consecutive battens on the same support.
NOTE: It may be necessary to retain the alignment of rows of tiling from one roof slope onto projecting roof slopes. This is sometimes referred to as “course through”. Where two roof slopes of varying pitch intersect, the required batten gauge should be set out to the lower pitch, so as to maintain the minimum required headlap. This has the effect of reducing the batten gauge and increasing the headlap on the steeper pitch roof.
PERPENDICULARS: Strike perpendicular chalk lines from eaves to ridge at three tile intervals. Lay tiles, with their edges along these lines, and all will be truly perpendicular.
POSITIONING BATTENS: For single lap tiles the batten which is to carry the first of eaves course must be positioned so that the bottom edge of the tiles will be over the centre of the gutter. This normally requires an overhang of 50mm to 65mm for a 100mm gutter. Positioning of top and bottom battens must take into account the location of the nibs in relation to the top of the tile. For plain tiles and 3 in 1 tiles, the battens for the eaves undercourse, must be positioned so that the tails of the undercourse and the first tile course line up.
BATTEN GAUGES: The distance from the top of the eave batten to the top of the top batten must be divided into equal amounts, which must not exceed the gauge recommended for the tile to be fixed.
EAVES FACIA: The eaves course of tiles must follow the same plane as the rest of the roof. To achieve this, the fascia board must project above the top edge of the rafter by the depth of batten section plus the overall thickness of tile at the bottom edge (plus the thickness of the counter batten on a boarded roof).
BATTENING: Sizing: Minimum batten sizes (in mm) are shown in Table 1. Table 1: Minimum Batten Sizes.
| Description | Width | Depth |
| Single Lap tiles | 44 | 35 |
| Plain Tiles / 3 in 1 Tiles | 44 | 35 |
| Pitch Roof | 44 | 35 |
| Vertical Tiling | 44 | 35 |
Rafter 450mm and 600mm Centres.
BATTEN FIXING:
Battens should be not less than 1200mm in length, and should be long enough to be supported at each end and intermediately, by at least three rafters, trusses or walls. Battens must not be cantilevered or spliced between supports. Batten ends should be cut square and nails skew driven on each side of joints. Not more than one batten in four should be joined over any one truss or rafter. Battens on boarded roofs must be supported on counter battens to increase ventilation under the tiles and to allow free drainage of any water that may reach the underlay. Counter battens must be fixed the rough to the rafters, and not to the boarding alone.
MOTAR BEDDING: All mortar used for bedding Roof Tiles and Accessories, must be 1:3 / sand: cement. Plasticisers may be added in accordance with manufacturer’s instructions. Bedding mortar should be squeezed down and struck off to give a clean face. Pointing should not be carried out subsequently or, with different materials. Pigments supplied by Condron Concrete Works may be added, as per manufacturer’s instructions.
FLASHINGS AND SOAKERS: Materials for flashings, soakers and saddles should preferably be lead, to BS1178, of the following minimum thicknesses. Flashings, soakers, saddles, BS code No. 5, 2.24mm thick. Gutters BS code No. 6, 2.5mm thick. Other materials complying with BS5534 Part 1 clause 15 may also be used. To avoid the risk of bimetallic corrosion, there should be no contact between different metals, and it is recommended to treat all exposed lead.
RIDGE: Bedded Ridge: All mortar bedded ridge tiles must be also mechanically fixed. Ridge tiles must be edge bedded and mechanically fixed. No ridge tile should be solid bedded except at butt joints or end of End Ridge. Where solid bedding is required, the mortar should be thinned out with pieces of broken tile to reduce the mass of bedding, and thus, the risk of cracking due to drying shrinkage. Mechanically fix end ridge where possible.
EAVES: Single Lap Tiles: No mortar or under eaves course is to be used. The eaves course must be in the same plane as the other tiles. Sprocketed eaves are not recommended with single lap tiles. Plain Tiles: Eaves are to have double courses laid broken bonded throughout, using purpose made under eaves/Top Tile for the undercourse. Tails, or undercourse and first course, should line up. 3 in 1 Tiles: Eaves are to have double courses laid broken bonded throughout, using purpose made Under Eaves/Top Tile for the undercourse. Tails, or undercourse and first course, should line up.
VERGES: Single Lap Tiles: All single lap tiles have their side lock on the left, and work, therefore, must start at the right hand verge and finish at the left. Undercloaked Verge: Nail the undercloak to the end rafter, or bed it on to the brick wall ensuring the underlay is under the undercloak. Bed tiles in mortar to form a sloping face, this will assist drainage and give a thinner appearance to the mortar. This is suitable for a 38 to 50mm over-hang. The undercloak course must not tilt inwards.
3 IN 1 TILES: 3 in 1 Tiles are laid broken bonded, using Tiles and Tile and-a-Half in alternate courses at both verges. No cut tiles should be used at verges.
ABUTMENTS: Tile or cement fillets should not be used. Use Tiles and Half Tiles etc., as for verges, to minimise cutting and maintain broken bond where appropriate.
VALLEYS & HIPS: Tile Cutting: For making cuts at valleys and hips, mechanical cutting is preferable to hand cutting since it gives a better appearance, and avoids small body cracks. Fixing: All cut tiles must be carefully bedded in mortar. If the nail holes are cut away, the side of the piece must be notched, and supported with a nail. When forming a valley with interlocking tiles, great care must be taken not to leave any mortar in the sidelocks of the cut tiles; otherwise water will build up in the channels and spill back into the roof. For lead valleys, lengths of lead sheet should not exceed 1.5m with laps of 150mm. Provision should be made for a slip layer between the mortar bedding and the lead sheet. Hip Tiles should be edge bedded in mortar, with solid bedding at butt joints.
VERTICAL TILING: Vertical tiling may be fixed to battens, or to battens on counter battens. Counter battening reduces the amount of fixing direct to a solid wall. When tiling to a timber framed construction, a suitable breather membrane or vapour barrier must be provided as appropriate. Spacing of counter battens should not exceed those given in BS5534: Part 1 Table 3. The top edge should incorporate an Eaves/Top Tile: when under a windowsill, or soffit, a lead flashing should be dressed down over the top course. The bottom edge should have double coursing throughout, using Eaves/Top Tiles for the undercourse. For abutments etc. use Tiles and Tile-and-a-Half tiles in alternate courses to maintain broken bond.
SURFACE COATING: Condron Concrete Works roof tiles are surface treated with an acrylic coating. The performance of the roof tile is not affected by any of the above conditions and the quality requirements of the tile remain intact, see Annex A, BS EN 490
SCRATCHES & ABRASIONS: These can be caused by packing, loading, transport and handling on site: These are surface marks that will not affect the overall quality of the tile and will become less apparent with natural weathering, see Annex A, BS EN 490
MOSSES & LICHENS: Mosses and lichen tend to grow on roofs located in the vicinity of trees, or in shady damp conditions. North facing slopes remain damper longer and attract moss and lichen growth more so than roof slopes which dry out quicker. Neither the material content nor the production process cause lichen growth or moss formation.
NOTE: Reference should be made to ICP2 Slating and Tiling 2016, BS 5534:2014+A1:2015 and any new code of practices in the future. Condron Concrete Roof Tiles are manufactured in compliance with E.N. 490: 2005 Concrete Roofing Tiles & Fittings.
SAFETY: Attention is drawn to Regulations 76 and 77 of the Safety, Health and Welfare at Work (Construction) Regulations 1995. These notes are a brief summary of safety precautions based on The 1995 Regulations made under the Safety, Health and Welfare at Work Act 1989. It is the responsibility of employers, employees, and the self-employed, to ensure that legal requirements are complied with. Particular attention is drawn to the Safety, Health and Welfare at Work (Construction) Regulations 1995 and other legislation setting out the duties of owners, employers and employees in relation to the construction and maintenance of buildings. Any form of completed roof or vertical work must be treated as fragile. An adequate number of crawling boards, ladders, hooks etc.… should be used, properly supported, securely fixed and anchored, in such a manner as to prevent slipping or tipping. In some cases, it will be necessary to provide parallel sets of crawling boards, with a bridge between, to form a working platform. In addition, where a person is liable to fall more than 2.00m from the lower edge of a sloping roof, a barrier must be provided at that edge to prevent such a fall. Alternatively, the work must be done from a securely supported working platform, fitted with guard rails and toe boards. The regulations also require precautions to be taken when access ladders are used. The requirements to secure ladders should be particularly noted. Ladders should not be rested against verges because of the uneven support and the risk of damage. Similarly, to avoid damage to eaves gutters, ladders should not be rested against gutters, but blocked out to clear the gutter, and then secured. Great care should be used when fixing eaves gutters immediately below valleys, particularly where valley troughs are used, as these are vulnerable to breakage. Packing (e.g.: sacking, rubber sheet) should be used under crawling boards, ladders, hooks, etc, to protect the tiles from possible breakage. Materials and tools should be carried, not dragged over the roof. Materials stacked on the roof, should not overload the battens, boarding or roof structure, and should be evenly distributed to avoid permanent distortion of the roof.
NOTE: Above notes are given for general information guidance only, and are not to be taken as comprehensive. All Condron Concrete Works Drivers have Hard Hats, Steel – Toe Boots, Safety Jackets and Safety Passes.
| Description | Number of Tiles per Palate | Palate Weight kgs (Approx.) |
| Condron Concrete Pantile | 240 | 1220 |
| Condron Concrete Slate Tile | 240 | 1340 |
| Condron Concrete Slate Tile | 180 | 1020 |
| Condron Concrete “Bullnose” Slate Tile | 240 | 1340 |
| Condron Concrete “Bullnose” Slate Tile | 180 | 1020 |
| Condron Concrete 3 in 1 Tile/Cladding Tile | 288 | 1280 |
| Condron Concrete Plain Tile/Cladding Tile | 180 | 1020 |
| Condron Concrete “M Profile” Tile | 240 | 1180 |
| The Condron Slate | 288 | 880 |
| The Senior Slate | 240 | 1240 |
| Ridge Tiles | 100 | 840 |
NOTE: All weights are approximate.
NOTE
The information given in this website, is, to the best of our knowledge correct, but
customers, including Designers and Specifiers, must satisfy themselves, that any
particular product is suitable for their specific requirements. Condron Concrete Works, or
their employees, or agents, do not accept any liability whatsoever arising from anything
contained on this website.
Would you like to talk to us about your requirements?
Download our Roof Tile brochure

Download our Roof Tile brochure (UK Only)